
Studios and product types
BeadMod supports three design paradigms. Choose a studio based on the shape of the thing you are making, not just the material you want to use.
The three studios
| Studio | Design surface | Best for | Route |
|---|---|---|---|
| Bracelet Designer | Ordered 3D strand | Circular or linear jewellery | /design/new |
| Loom Designer | 2D cell grid plus 3D preview | Repeating woven patterns and image tracing | /design/loom |
| Handbag Designer (Beta) | Multiple 2D panel grids plus 3D preview | Clutches, pouches, totes, frame bags, and buckets | /design/handbag |
Bracelet Designer
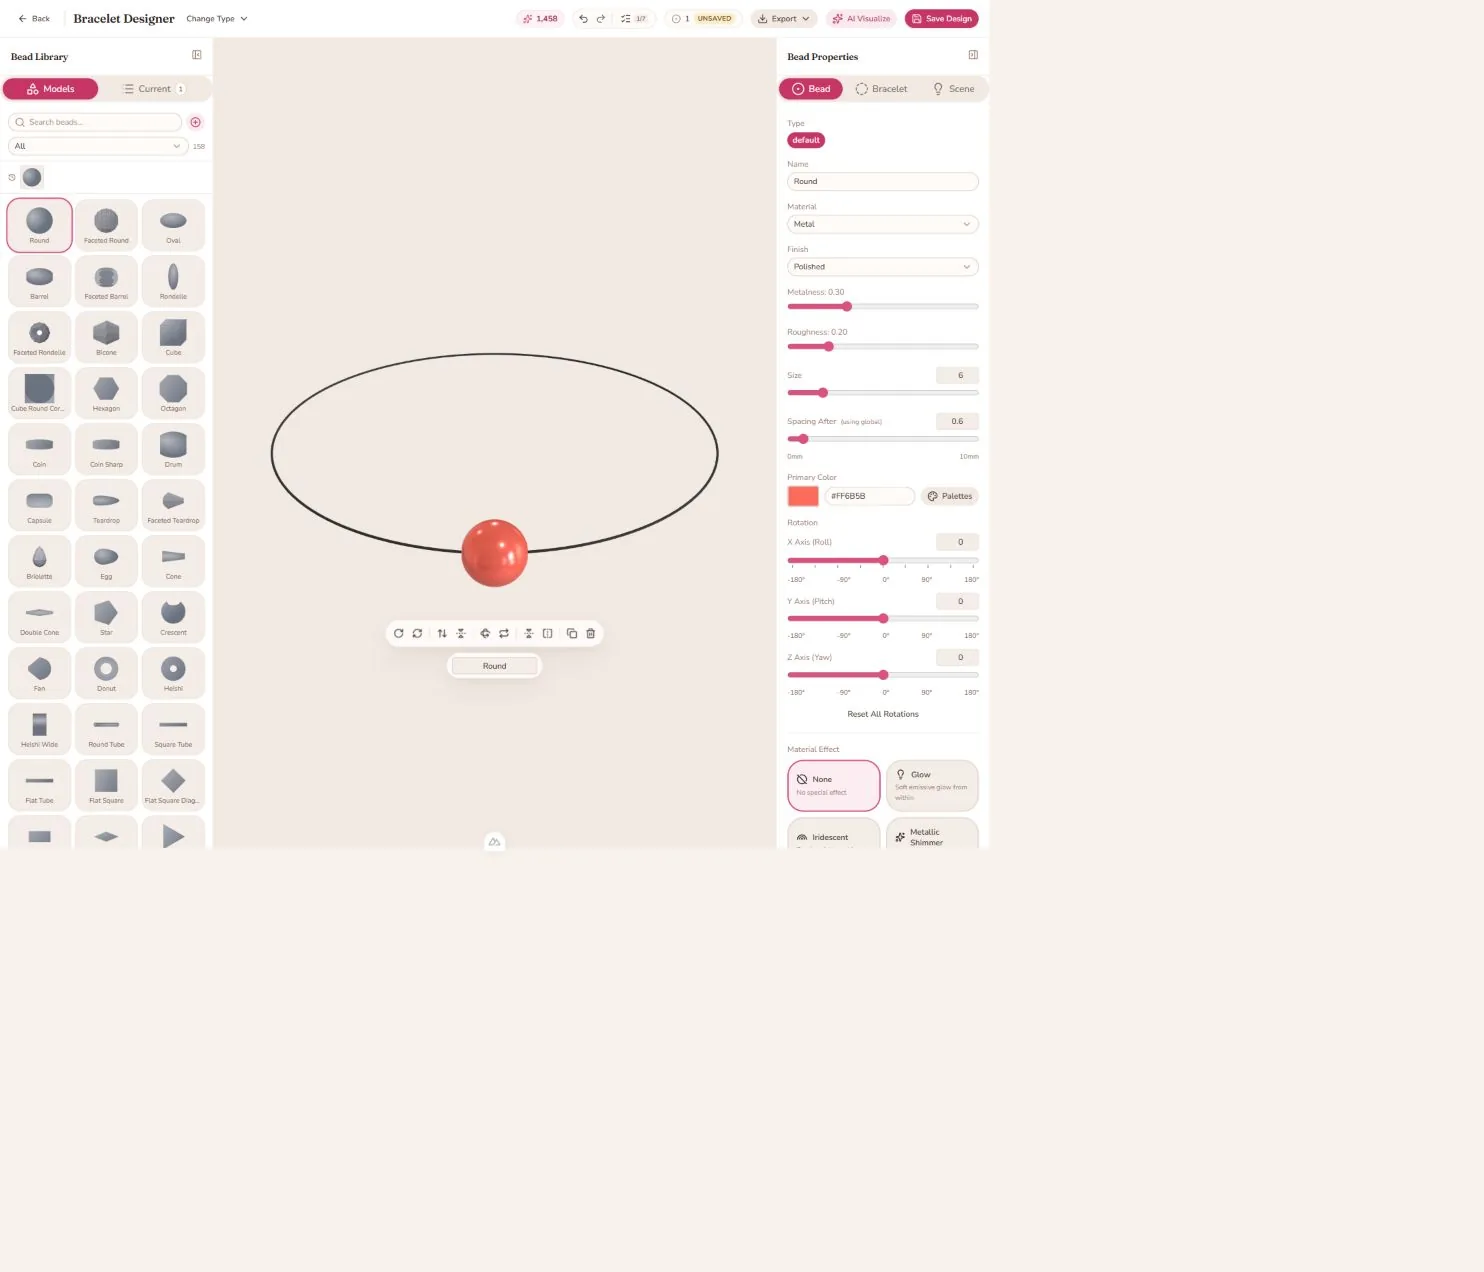
The Bracelet Designer strings individual 3D models in order. Use the bead library to add shapes, then edit the selected bead in Bead Properties. The editor also provides product layout, cord, scene, material effects, textures, letters, capture, video, and AI visualization controls.
Loom Designer
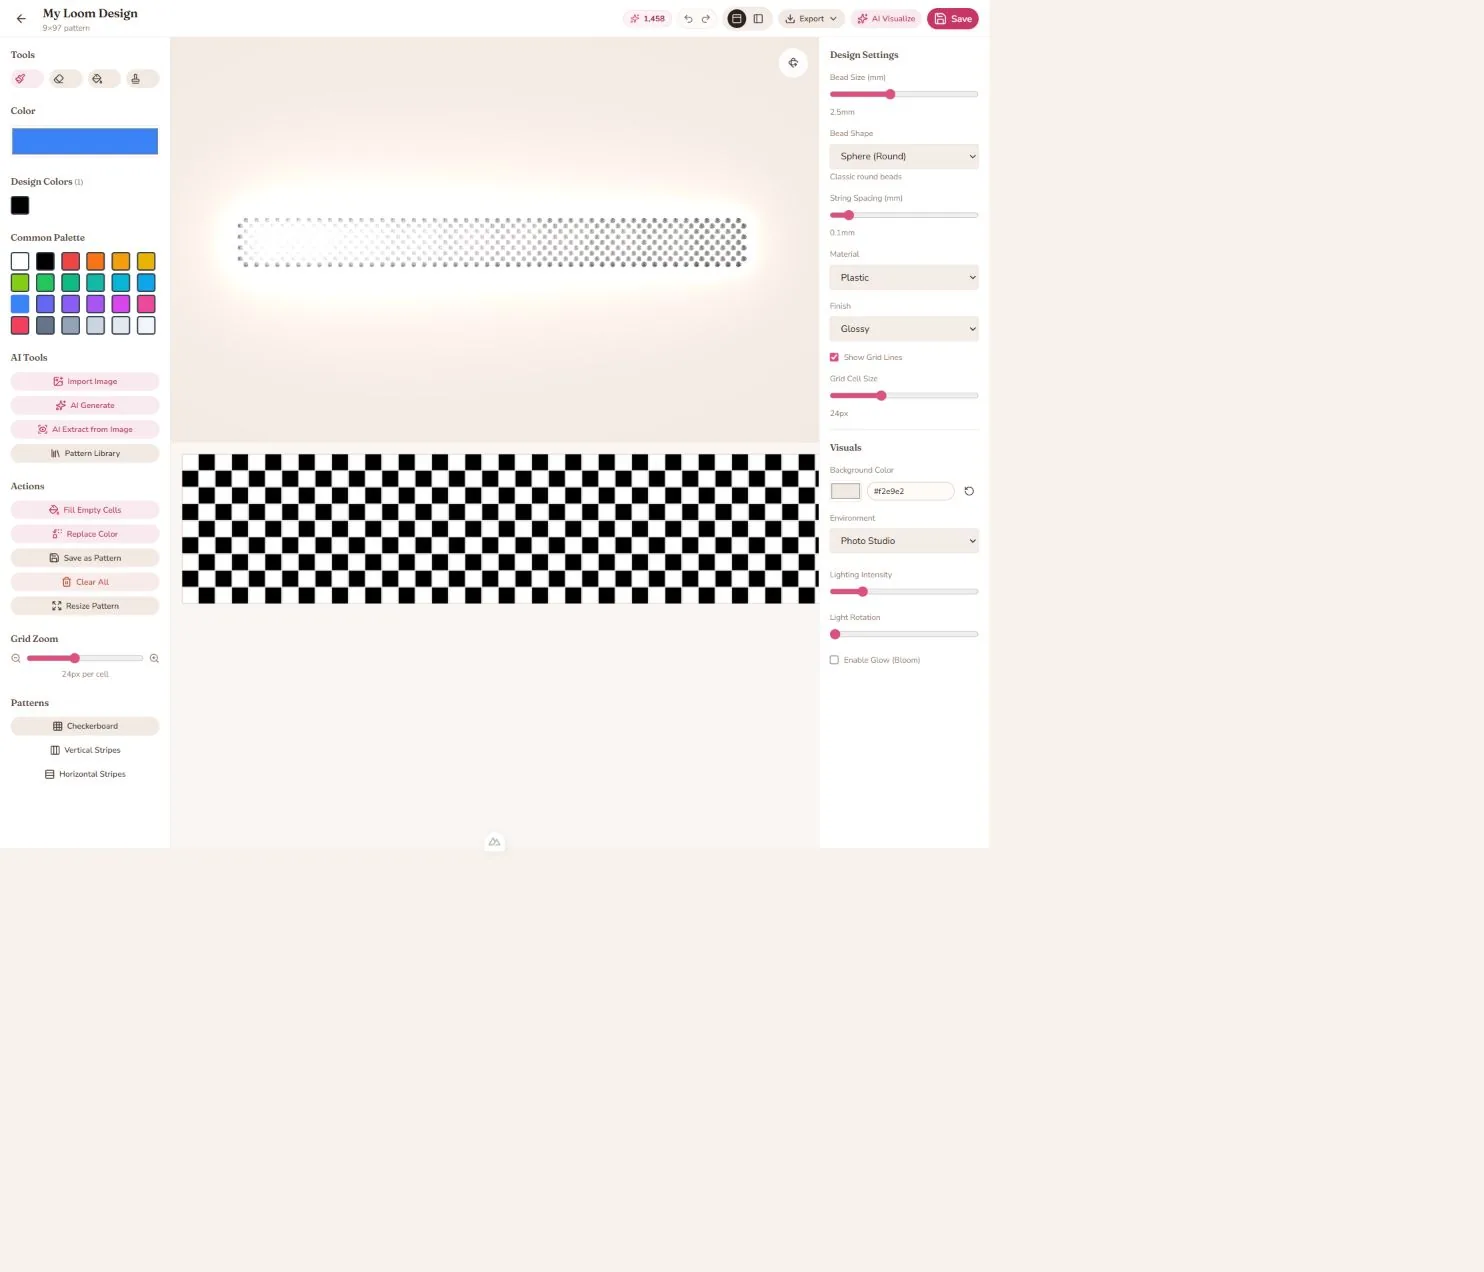
The Loom Designer treats a design as a grid of bead cells. Paint directly on the grid, generate quick patterns, import an image, use AI tools, save reusable patterns, and inspect a live 3D version.
Handbag Designer
The Handbag Designer combines several panel grids into a structured piece. It is currently in Beta and includes curated constructions, stitch layouts, surface-safe bead models, stamps, wireframe inspection, and a resizable 2D/3D workspace.
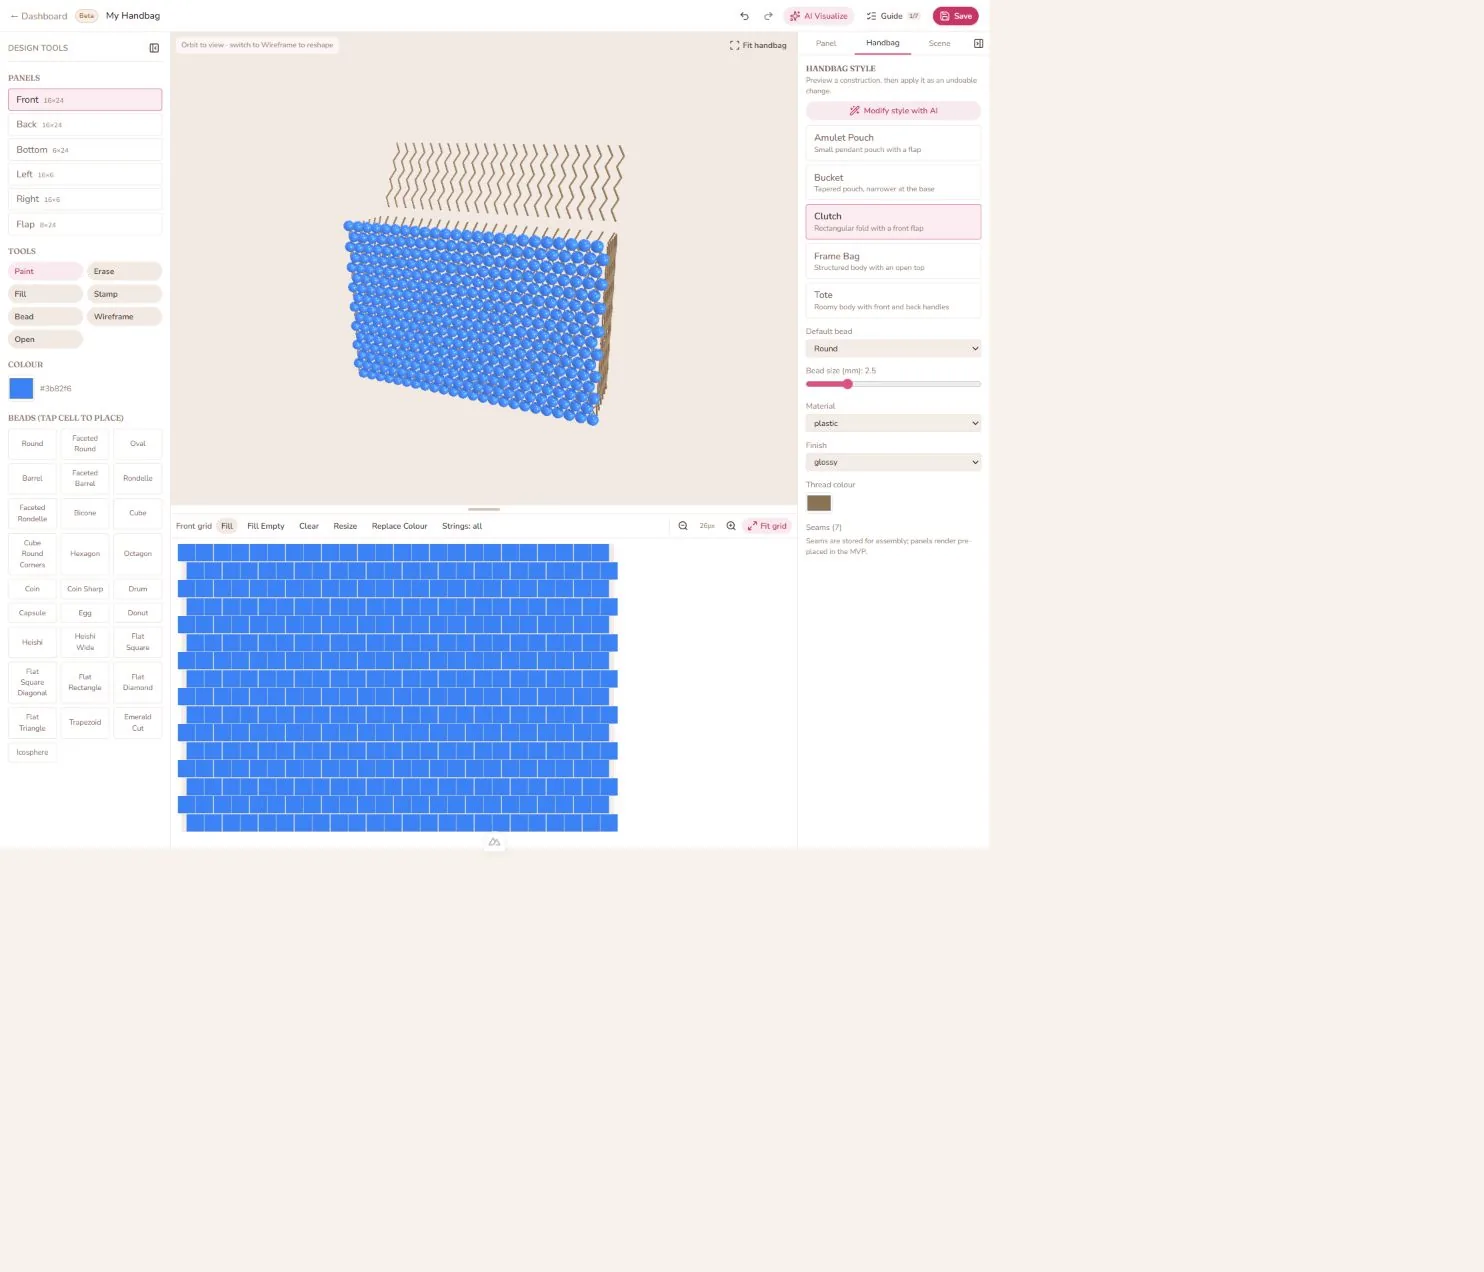
See the Handbag Designer guide for the full panel workflow.
Strand product types
Open Change Type in the Bracelet Designer to switch the layout preset. The product type changes the default mode, radius, spacing, arc, and camera framing; every value can be adjusted later in the Bracelet tab.
| Product type | Default form | Typical bead count | Default layout |
|---|---|---|---|
| Bracelet | Wrist-sized circular strand | 15–25 | Curved, 360° |
| Necklace | Neckline drape | 30–80 | Curved, 180° |
| Ring | Small circular band | 5–15 | Curved, 360° |
| Earrings | Short drop or dangle | 1–10 | Linear |
| Anklet | Larger circular ankle strand | 20–30 | Curved, 360° |
| Prayer Beads | Closed counting loop | 33–99 | Curved, 360° |
| Charm | Short hanging drop | 3–12 | Linear |
Bracelet
Use a full circle for a closed bracelet, or reduce the arc for an adjustable or open-ended design. Keep the bead count and spacing balanced around the wrist-sized radius.
Necklace
Start with the U-shaped 180° drape. Increase the radius for a longer necklace, then use spacing and bead count together so the strand does not look stretched.
Ring
Use a small radius and fewer beads. A full 360° arc makes a band; a partial arc works for a focal ring or open wrap.
Earrings
The default is linear because drop earrings are easier to build as a short sequence. Design one side, then use the result as the reference for the matching earring.
Anklet
Anklets use the bracelet-style circular workflow with a larger default radius and slightly more spacing. Adjust the arc when you want an open or adjustable style.
Prayer Beads
Covers misbaha and tasbih (33 or 99 counts), rosaries (59), and malas (108). The default loop size fits a 33-bead strand; raise Loop Size as you add beads, to roughly 20 for a 99-bead strand, or the beads will wrap past the start of the loop and overlap.
Spacing runs tighter than on a bracelet because counting beads sit close together. Mark each third with a larger divider bead, and finish the loop with a cap, tassel, or head bead.
Charm
A bag charm, keyring charm, or phone strap. Linear by default, because a charm is built as a short top-to-bottom drop rather than a wrapped curve. Finish the top with a clasp or ring bead so the piece reads as something that clips onto a bag.
Layout controls
In the Bracelet tab, the main layout controls are:
- Mode — curved or linear.
- Radius — the size of a curved path.
- Arc Angle — how much of the circle the strand occupies.
- Bead Spacing — the gap between beads.
The available ranges adapt to the selected product type. Use the visual preview as the final check: the numbers are starting points, not manufacturing measurements.
When to choose each workflow
- Choose Bracelet Designer when the order and orientation of individual 3D beads matter.
- Choose Loom Designer when the design is primarily a flat repeated motif or chart.
- Choose Handbag Designer when the final object has a body, sides, bottom, flap, or handles made from separate panels.
Related guides
Last reviewed: September 7, 2026